D365FO Data lake with Azure Data Factory
If you are planning to implement the Azure data lake feature in D365FO, and do not want to use the azure synapse for any reason, then this post will give you a quick start in implementing the solution.
The solution does have the capabilities to make full and incremental load with multi-threading using a modular approach.
In the future, you can use the same ADF solution in Azure synapse.
In the following solution, we are loading the data from the Azure data lake to the Azure SQL (Physically) using the Azure Data Factory, We make customization to generate the table's constraint to make sure that we will have the same performance at Azure SQL.

Following are the step that helps you to incorporate the provided solution in your implementation.
The solution has 3 parts including its source code.
- D365FO
- SQL Server
- Azure Data Factory
D365FO
- DataLake Storage Account Name.
- Account key for access.
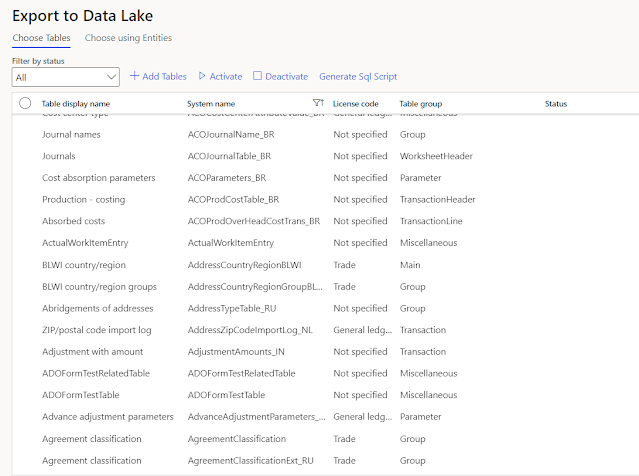
- Click on data lake to enable the checkbox.

All the above information will be utilized by our customization to generate and upload the file to the Azure Data Lake container.

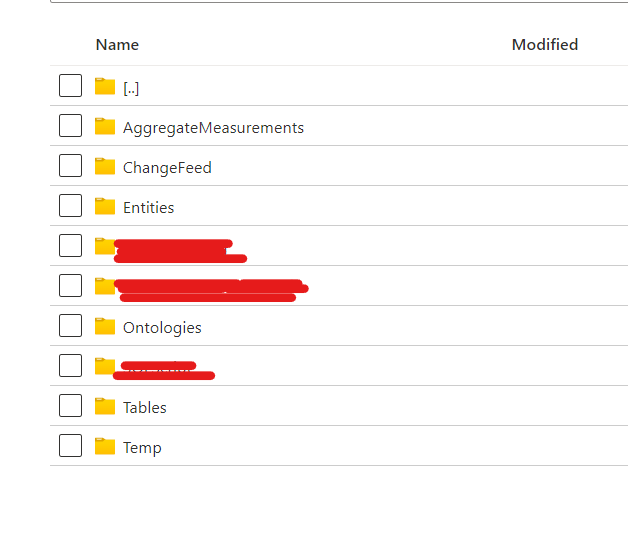
- SQLScript.
- EntityMapping
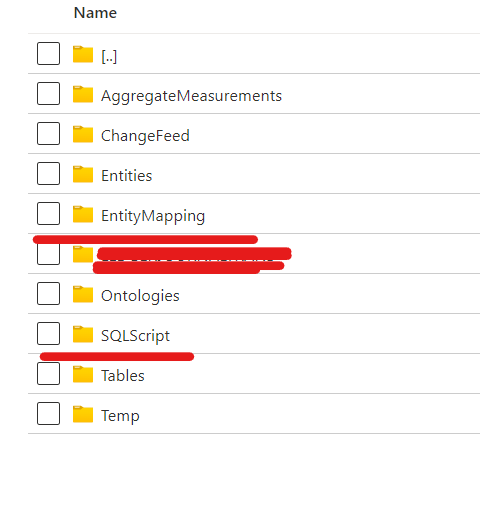
SQLScript
EntityMapping

SQL Server
- Create Azure SQL database
- Create a new Schema with the Name of [DL], as it is being used in our complete solution.
- Create the following Store procedure in your database. You can download the store procedure using this link.
- As we are using Data flow with a Common data connector that doesn't support the self-hosted integration runtime, so please use the Azure integration runtime.
- Some Dimension-related tables have an index on the Hash key, and Microsoft doesn't export the Hash information, so you need to disable those indexes manually otherwise may face the index violation issue.
Azure Data Factory
Pre-Requisite

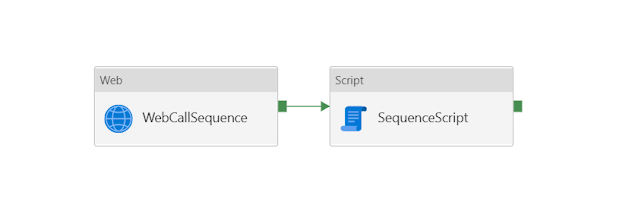
Steps
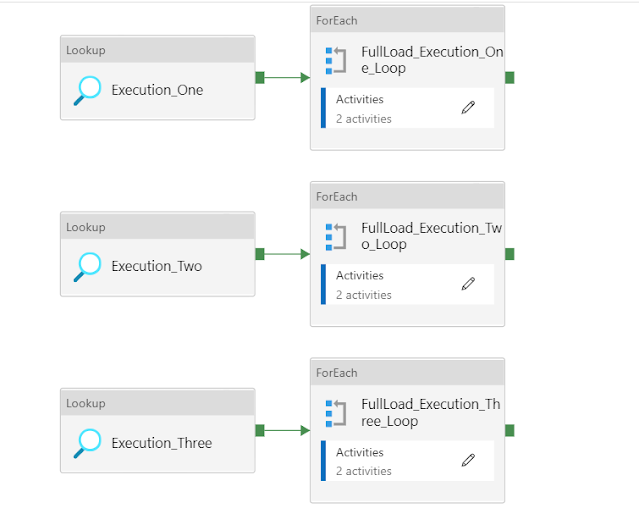
In the second step, a separate activity "SequencePipeLine" is called within the main activity.
SequencePipeLine
In the third step, another separate activity "SQLDatabaseSchema" is called within the main activity.
SQLDatabaseSchema

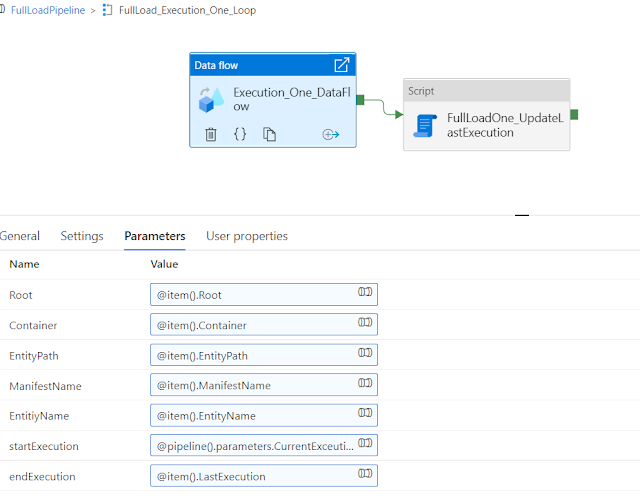

Reference screenshot of incremental load data flow

- Retry logic
- The retry logic is important because you can have a connectivity issue for any technical reason.
- Email notification
Downloadable links


