Showing posts with label D365. Show all posts

Dialog With Event handling

Dialog With Event handling


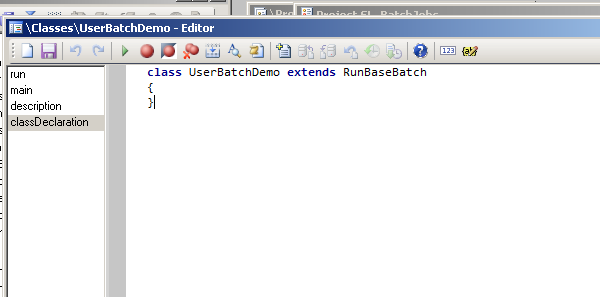
Create a Class with the name of Demo Dialog and extend it with RunBase class then write the following code.
dialog_1
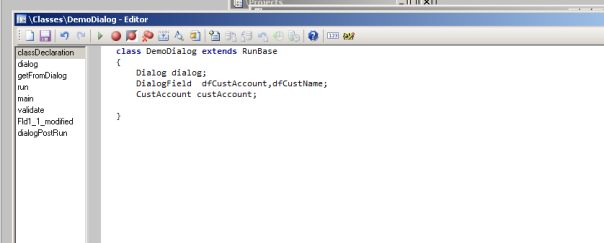
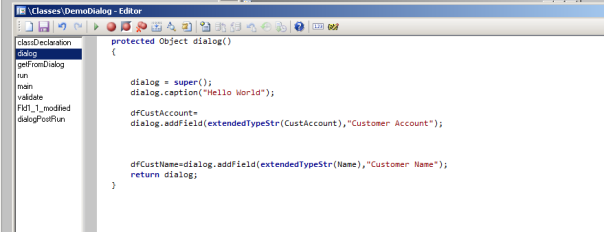
Override the dialog method and fields in dialog in my case I added two fields customer account and customer name.
dialog_2
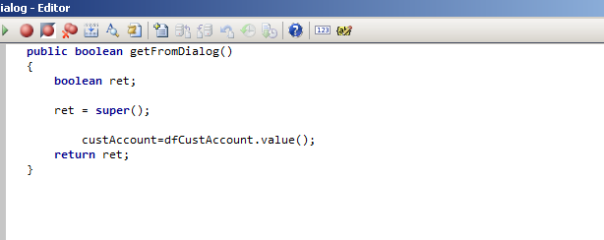
Override the getFromDialog method and set the value in the declared variable
dialog_3
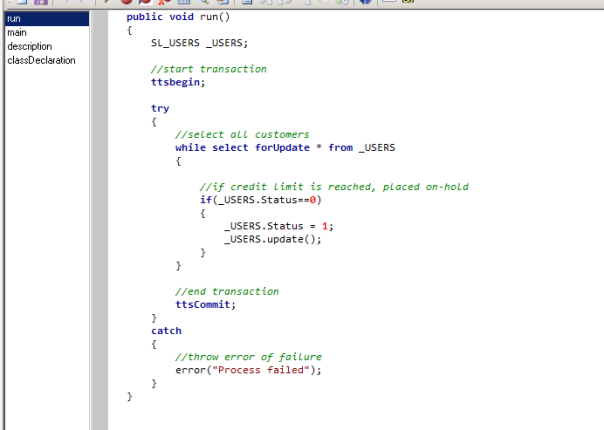
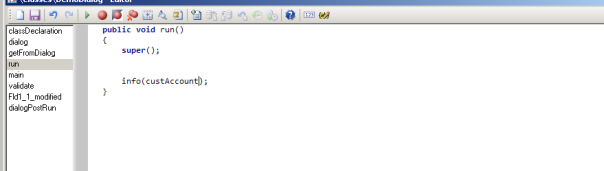
Override the run method write the following code.
dialog_4
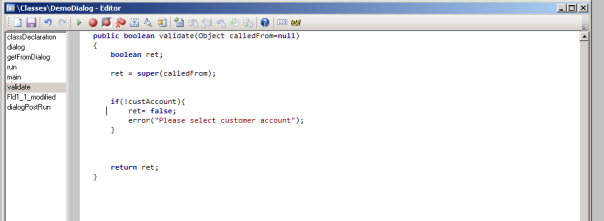
If you want to validate then override the validate method.
dialog_5
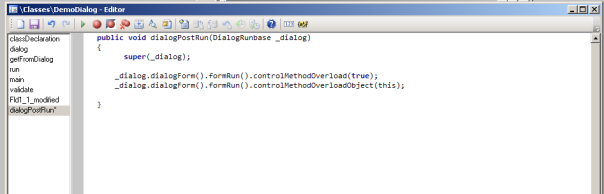
The dialogPostRun() method should override like below. This will allow calling to the event methods.
dialog_6
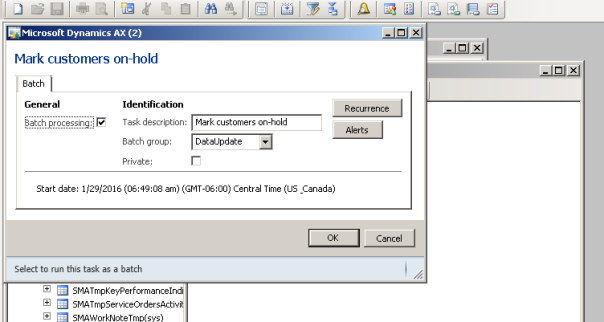
Now open dialog and personalize the customer account field and check the name of the field.
dialog_8
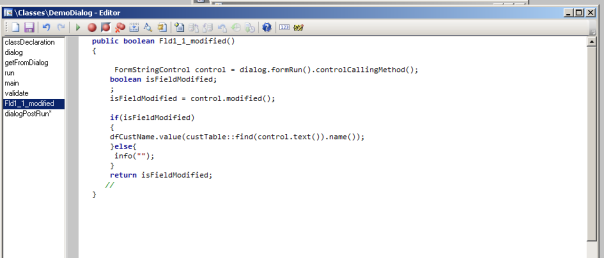
Then Create the modified event with a field name.
dialog_7
Now run the class and enjoy the modified events in the dialog ðŸ™‚

Calculate Start Date & End Date from Week & Year


Dates Calculation

In the below code, I have performed the calculation using start and end date, to understand in the detail, I would suggest you execute this code on your machine.


static void Job41(Args _args)
{
int weekJan1st;
int dayJan1st;
date tempDate,startDate,endDate;
int yr, week;
#TimeConstants
;
yr=2015; /* here i am assigning values in year and week */
week=54;
weekJan1st = wkofyr(dateStartYr(str2Date(strFmt(“%1-01-01”, yr), 321)));
dayJan1st = dayofwk(dateStartYr(str2Date(strFmt(“%1-01-01”, yr), 321)));
tempDate = dateStartYr(str2Date(strFmt(“%1-01-01”, yr), 321));
switch(firstWeekOfYear())
{
case 0: // Starts on Jan 1
tempDate -= (dayOfWk(tempDate) – 1);
tempDate += (week – 1 ) * 7;
break;
case 1: // First full week
//
// If 1st Jan is a Monday wkofyr gives the correct result
// If 1st Jan is a Tuesday-Thursday wkofyr gives one too much,
// as this 4/5/6 day week is given its own week number.
//
if (dayJan1st != 1)
tempDate += (8 – dayJan1st);
tempDate += (week – 1) * 7;
break;
case 2: // First 4-day week
if (mthofyr(tempDate) == 1 && weekOfYear(tempDate) > 50)
tempDate += week * 7;
else
tempDate += (week – 1) * 7;
tempDate -= (dayofwk(tempDate) – 1);
break;
}
startDate=tempDate-7;
endDate=tempDate-1;
info(strFmt(“%1,%2”,startDate,endDate));
}

Batch Job D365FO & AX 2012

            Batch Job D365FO & AX 2012

Following the below steps, You can create the batch job in simple steps.


First Create a Class and extends it with the RunBaseBatch class

BatchJob_1
Then override the description method and return the job name. it will appear on job dialog.
BatchJob_2
Now override the run method and write your logic. in my case i was updating the status from 0 to 1 in my custom table
BatchJob_3
Now override the main method and run your code like the below image
D__tuts_blog_BatchJob_4
Now Run the class by right click and select open a dialog will appear like the below image.
2016-01-29_1749.png

File Upload in D365


File Upload in D365


First Create a simple for and place button two buttons file upload & download


2018-03-14_1426

When user click on file upload button. the below statement will triggere File upload statement: File::GetFileFromUser()
and  Code of Download button is again a one-liner: new Browser().navigate(fileUrl).
[Form]
public class SLD_UploadDownload extends FormRun
{
    str fileUrl;
 
    [Control("Button")]
    class UploadButton
    {
        public void clicked()
        {
            FileUploadTemporaryStorageResult result = File::GetFileFromUser() as FileUploadTemporaryStorageResult;
            if (result && result.getUploadStatus())
            {
                fileUrl = result.getDownloadUrl();
                info(fileUrl);
            }
        }
    }
 
    [Control("Button")]
    class DownloadButton
    {
        public void clicked()
        {
            new Browser().navigate(fileUrl);
        }
    }
}

Virtual Fields Vs Computed Fields

  Virtual Field: A virtual field in D365FO is a field that doesn't have a direct representation in the database. It's a field that y...